The Morph transition allows you to animate smooth movement from one slide to the next. This video describes the concept and how to use the Morph transition, all in 90 seconds.
How to set up a Morph transition
To use the Morph transition effectively, you'll need to have two slides with at least one object in common—the easiest way is to duplicate the slide and then move the object on the second slide to a different place, or copy and paste the object from one slide and add it to the next. Then, apply the Morph transition to the second slide to see what Morph can do to automatically animate and move your object. Here's how:
-
In the Thumbnail pane on the left side, click the slide that you want to apply a transition to, which should be the second slide you added the object, picture, or words you'd like to apply the morph effect to.
-
On the Transitions tab, select Morph.
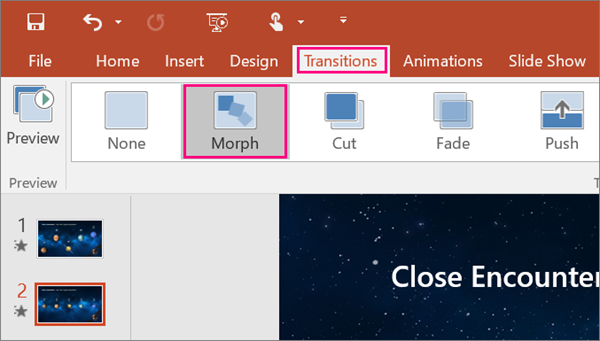
Note: In PowerPoint for Android, select Transitions > Transition Effects > Morph.
-
Select Transitions > Effect Options to choose just how you'd like the Morph transition to work.
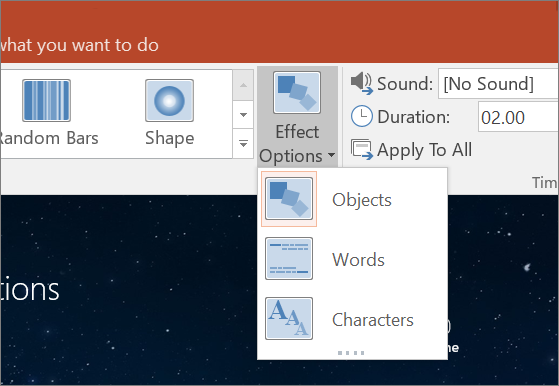
You can move objects around on the slide, change colors, move words and characters around, and much more.
-
Click Preview to see the Morph transition in action.

Here's an example of how the Morph transition can seamlessly animate objects across slides.
This is the original slide:
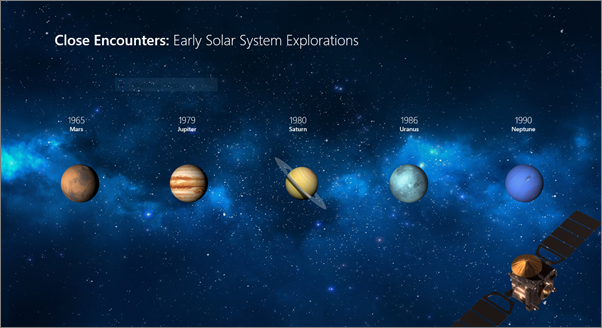
This is the second slide with the same objects after the Morph transition has been applied. The planets moved without needing individual motion paths or animations to be applied to them.

Source: Microsoft