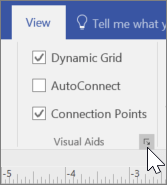
To make a professional impression, use the ruler, guides, and grid to arrange and position shapes neatly in your drawings.
Show or hide the rulers
-
To show the Ruler, select View and select the Ruler checkbox.
-
To hide the Ruler, select View and clear the Ruler checkbox.
Work with Guides
-
To show Guides, select View and select the Guides checkbox.
-
To hide Guides, select View and clear the Guides checkbox.
-
Drag a guide from the horizontal or vertical ruler onto the drawing page.
-
Drag a shape to the guide until a connection point on the shape snaps to it.
-
Drag a guide to move the shapes connected to it.
-
To remove a guide, select it and press Delete.
Show or hide the grid
-
To show the Grid, select View and select the Grid check box.
-
To hide the Grid, select View and clear the Grid check box.
Snap shapes to the grid, guides, and rulers
-
Select View > More > Snap & Glue.
-
Select the Snap to options you want.
-
To snap shapes to the grid, select Grid.
-
To snap shapes to guides, select Guides.
-
To snap shapes to rulers, select Ruler subdivisions.
-
-
Select OK.
View a diagram in presentation mode
-
To view a drawing in full-screen mode, Select View > Presentation Mode.
-
To move from page to page, select a blank area of the drawing.
-
To close presentation mode, press Esc.
Source: Microsoft