-
In your web browser, go to forms.office.com.
-
Sign in with your Office 365 school credentials, Office 365 work credentials, or Microsoft account (Hotmail, Live, or Outlook.com).
-
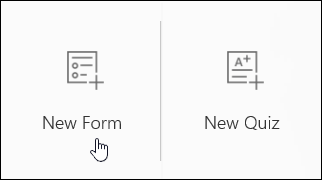
Under My Forms, click New Form to begin creating your form.
-
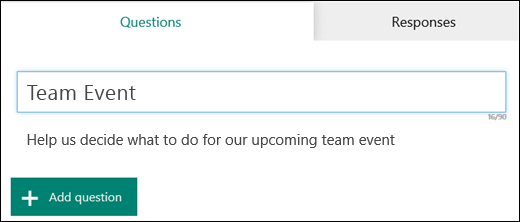
Enter a name for your form. You can also enter an optional subtitle.
Note: Form names can contain up to 90 characters and a subtitle can contain up to 1,000 characters.
-
Click Add Question to add a new question to the form. Choose from Choice, Text, Rating, or Datequestions. You can also click More
 , and select Ranking, Likert, or Net Promoter Score® questions.
Note: Your form is saved automatically while you create it.
-
For choice questions, enter the text you want to display for the question and each of the choices.
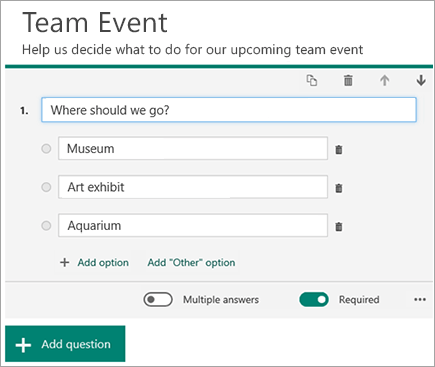
Want to add more choices? Click Add Option to add more choices than the default two choices. Click Add “Other” Option to add a choice option that displays the text Other. To remove a choice, click the trash can button next to it. You can also choose to make a question required or allow multiple choices for a question by changing the settings at the bottom of the question. To have Microsoft Forms randomly shuffle the order of the options displayed to users of the form, click More settings for question
, and then select Shuffle options.Tip: Click More settings for question
, and then select Subtitle to add a subtitle for a question.Some choice questions will trigger auto suggestions.
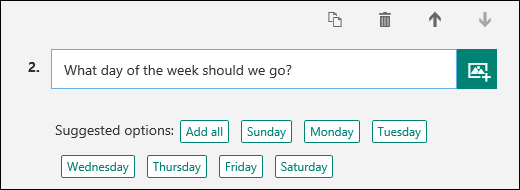
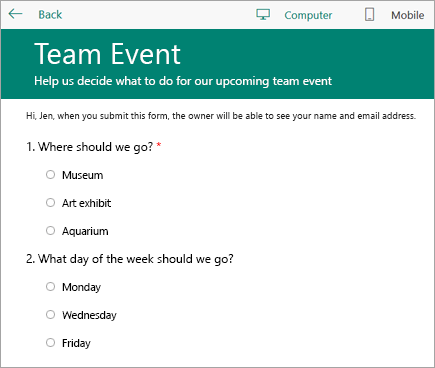
Click on the suggested options to add as choices. In the following example, Monday, Wednesday, and Friday are selected.

-
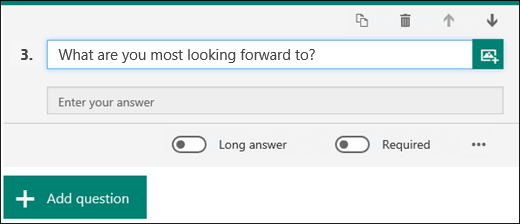
Click Add Question to add more questions to your form. To change the order of the questions, click the Up or Down arrows on the right side of each question. For text questions, select the Long Answeroption if you want a larger text box displayed on the form.
Tip: To copy a question, select it and then click the Copy Question button
 in the upper right corner.
 -
Text questions also allow you to set restrictions when you need to have numbers as the answer. Click More settings for question
, and then select Restrictions. You can choose to restrict the numbers by selecting from the various options such as Greater than, Less than, Between, and many others.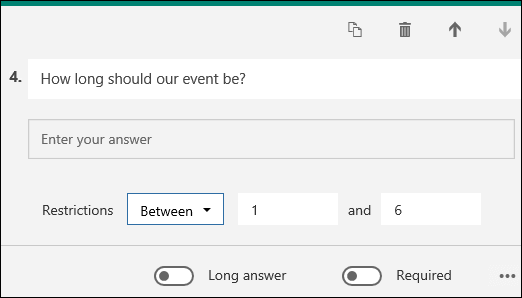
-
Click Preview at the top of the design window to see how your form will look on a computer. If you want to test your form, enter answers for the questions in preview mode and then click Submit.
-
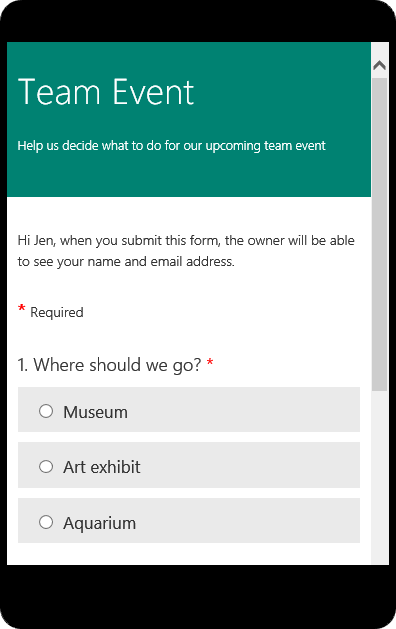
Click Mobile to see how your form will look on a mobile device.
Click Back when you are finished previewing your form.
Create a form with Microsoft Forms
Modified on: Thu, 28 Feb, 2019 12:17 PM
Source: Microsoft
Yes No
Sorry we couldn't be helpful. Help us improve this article with your feedback.