From the portal
- Select the Showing drop down list and choose the Button category. This filters the list of templates to only those that can be used in button flows.

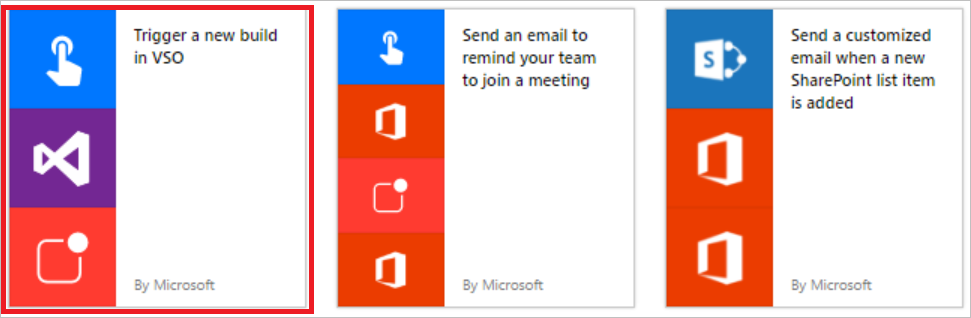
- Select the Trigger a new build in VSO template from the list of templates.
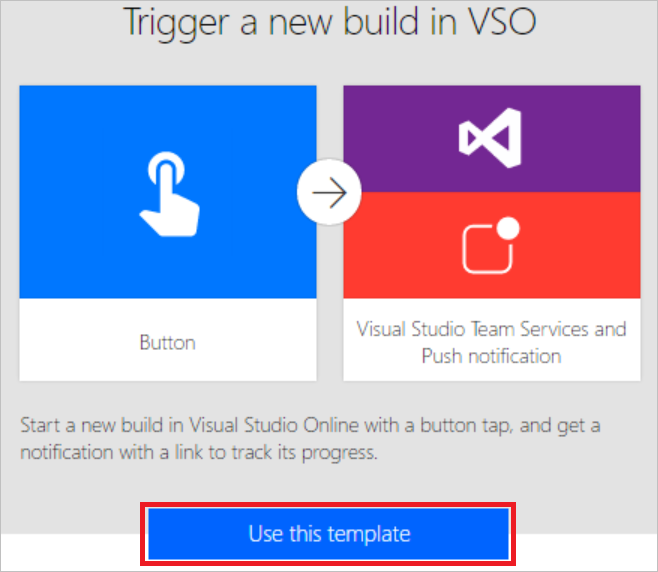
- Select the Use this template button on the Trigger a new build in VSO page.
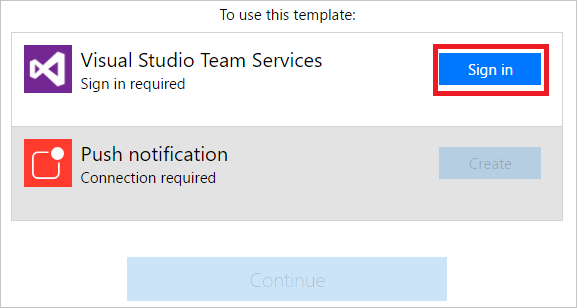
- If you aren't signed in, you'll be prompted to do so at this point:

- After you've signed into Flow, you'll be prompted to sign into the connectors used in the template you've selected. In this example, in step 2 above we selected the Trigger a new build in VSO template, so we have to sign into VSO (and any other connectors you are working with), if you're not already signed in:
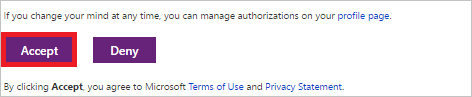
- Select the Accept button if you agree to authorize Flow to access your VSO account.
Note You'll need to authorize each connector similarly. The designer should appear like this when you are ready to move on to the next step. Select the Continue button to move on: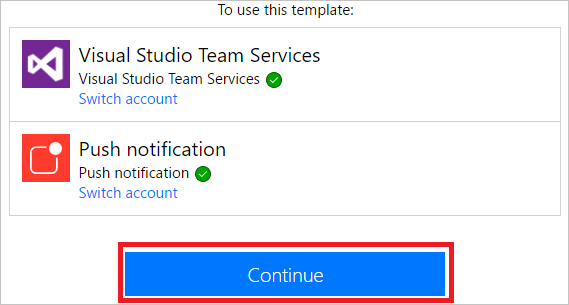
- You are now ready to configure the properties for the build you wish to start:
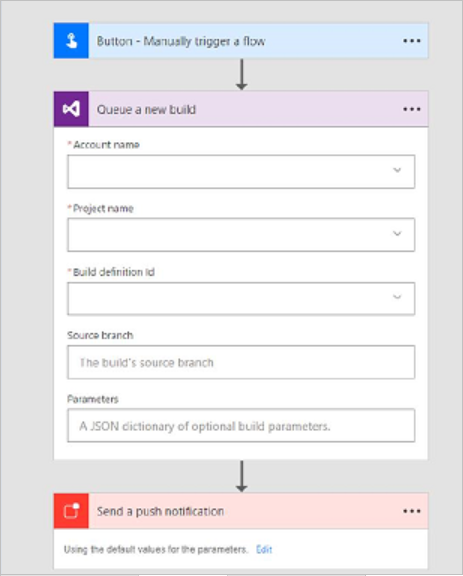
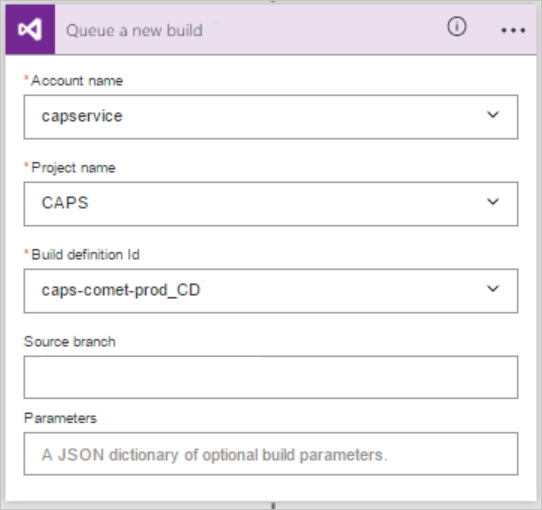
- Select or enter the Account name, Project name, Build definition Id, Source branch and optionally, Parameters, in the Queue a new build card:
- Next, configure the properties of the push notification on the Send a push notification card. By default, this push notification is configured to send an HTML link to a Web page that displays the status of the build:

- Select the Create flow button to save your button flow:

- You should see this success message within a few moments:

Congratulations, you've created a button flow! You can now run this button flow anytime, anyplace, from the Buttons tab in the Flow app. Simply press the "button" and it will run!
Source: Microsoft