Add another action
In this procedure, you'll add an action in the middle of the flow. This action will save a file in your Dropbox, archiving the item in the list.
-
In flow.microsoft.com, select My flows in the top navigation bar.
-
In the list of flows, select the flow that you want to edit.
-
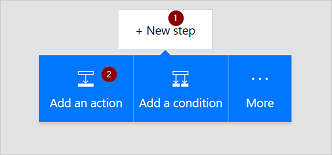
Select New step, and then select Add an action.
-
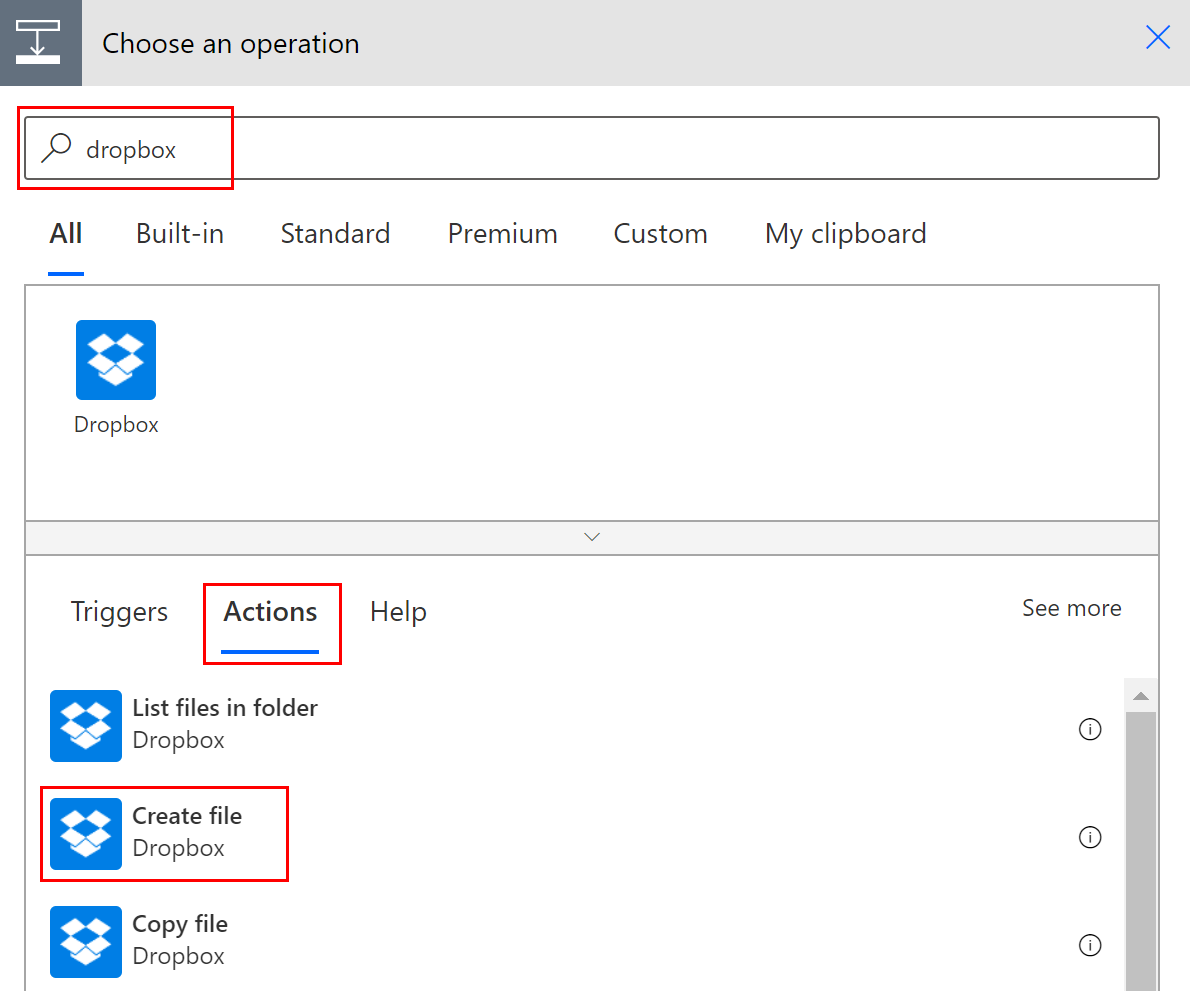
In the list of possible actions, search for Create file, and then select Dropbox - Create file.
-
If prompted, provide your Dropbox credentials.
-
Select the folder icon on the right side of the Folder path box.
-
Find and then select the folder in which you want to place the new file.

-
Enter the name of the new file into the File name box. Be sure to append an extension, such as ".txt", to the file name. Here, let's use the TweetId in the file's name to ensure uniqueness of the files. You may have to select See more to find the TweetId token.
-
Add the text that you want the file to contain by typing into the File content box. You can also add tokens into the File contentbox.
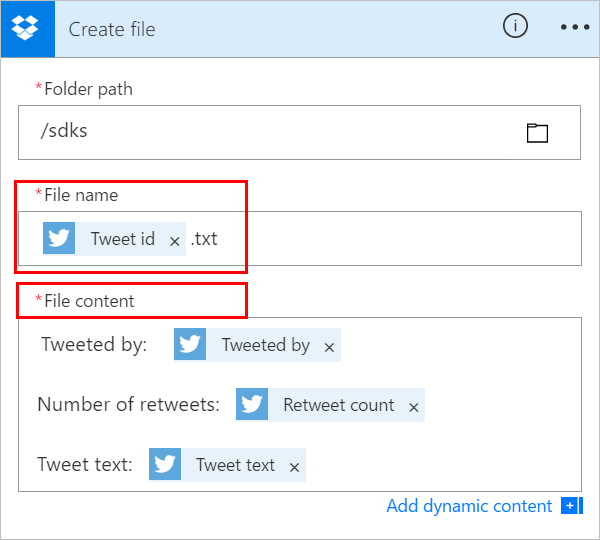
Important
If you give the file a name that matches an existing file's name (in the selected folder), the existing file will be overwritten.
-
Select Update flow, which is located on the menu at the top of the screen.
-
Send a tweet that contains the keyword you specified.
Within a minute, a file is created in your Dropbox account.
Reorder or delete an action
-
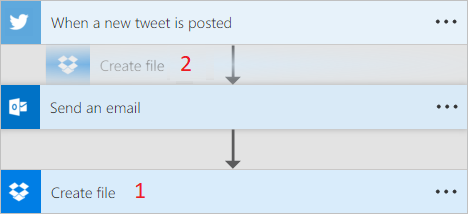
To receive email after the file is created in Dropbox, move the Dropbox action by dragging its title bar above the email action. Release the Dropbox action over the arrow between the trigger (When a new tweet is posted) and the email action. (The cursor indicates whether the action is positioned correctly.)
Note
You can't move a step before another if you're using any outputs from that step.
-
To delete an action, select the ellipsis (...) near the right edge of the title bar for the action you want to delete, select Delete, and then select OK.
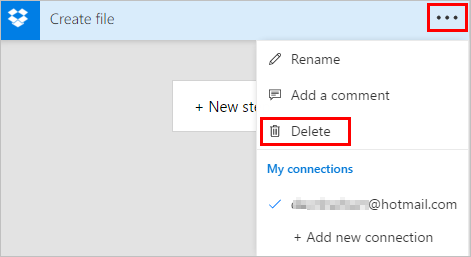
Note: You can't delete an action if you're using any outputs from it anywhere in the flow. First, remove those outputs from the fields, and then you can delete the action.
Add advanced options
Start with a flow that has a Send an email action.
-
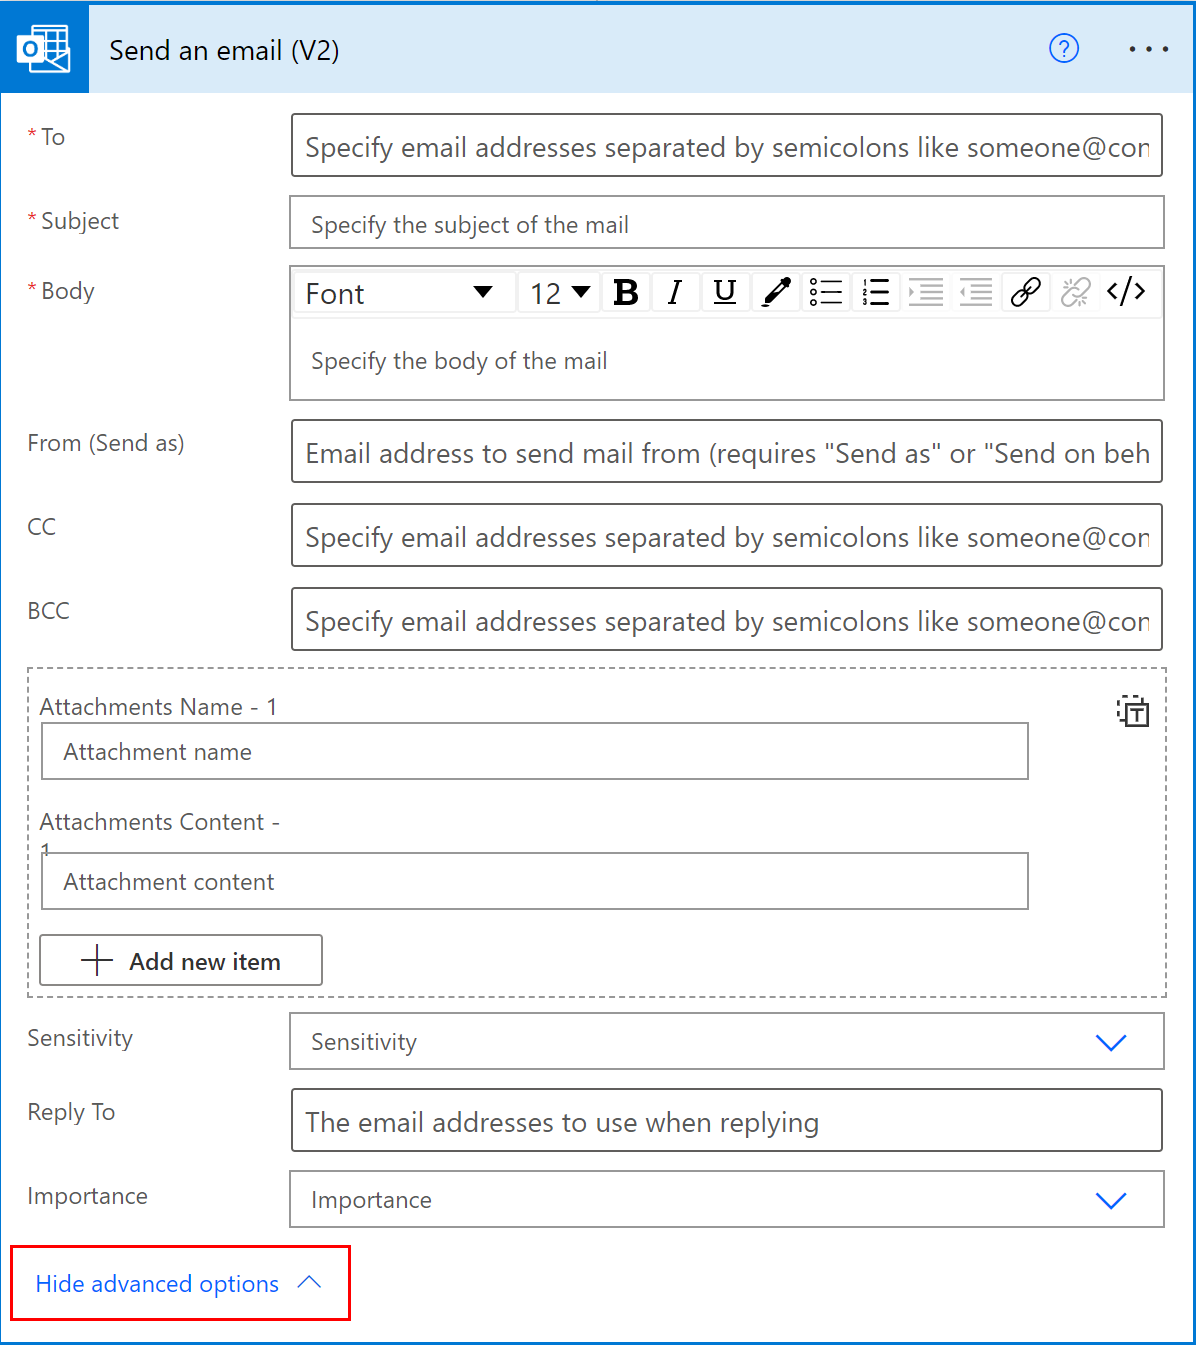
Select Show advanced options, which is located at the bottom of the Send an email card.
You'll then see the advanced options for sending an email.
-
Select High from the Importance list, and then select Hide advanced options to hide the advanced options.
-
Select Update flow, which is located on the menu at the top of the screen.
This step saves your changes.