Creating a push notification flow
Display a summary of activity
-
If your flow hasn't run before, trigger a run to generate data.
It might take some time for the data to appear in the app.
-
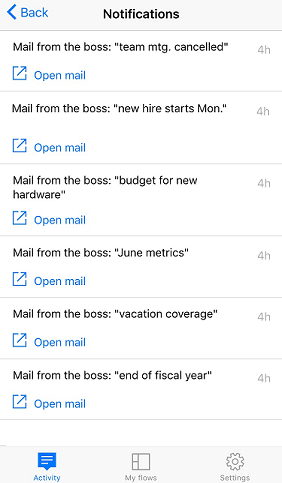
Open the mobile app, which shows the Activity tab by default.
This tab organizes data by day, with today's data at the top.
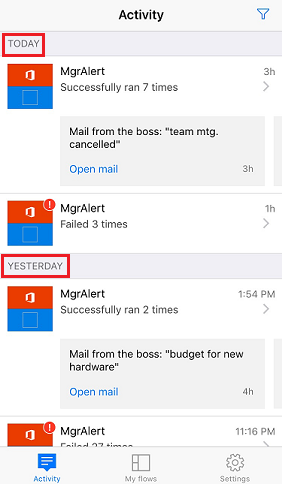
Each entry shows the name of a flow with icons that correspond to its trigger events and actions.
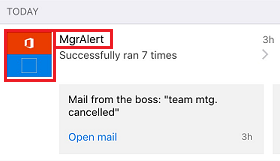
If at least one run of a flow has succeeded in a day, an entry shows the number of successes and the time when it succeeded most recently. A different entry shows similar information if a flow has failed.

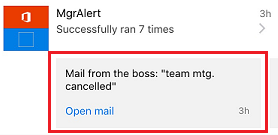
If a flow sends a push notification, the text of the most recent notification appears at the bottom of the entry for successful runs.
-
If multiple push notifications were sent in a day, swipe left on the notification to view notifications from up to three previous runs. If more than four notifications were sent in a day, swipe left until See more appears, and then tap it to view a list of all notifications.
-
Tap Back to return to the activity summary.
-
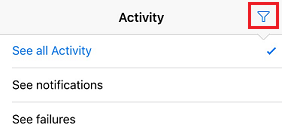
To filter the activity summary, tap the icon in the upper-right corner.
You can show all entries, only the failure entries, or only the entries that include push notifications.
Show details of a run
-
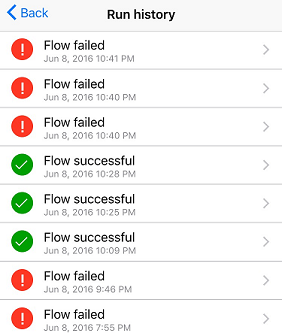
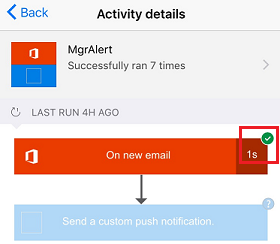
In the activity summary, tap an entry to show details for the most recent run.
Each event and action appears with an icon that indicates whether the event or action succeeded or failed. If it succeeded, the amount of time it took (in seconds) also appears.
-
At the bottom of the screen, tap See previous runs to list all runs of the flow, and then tap a run to show its details.