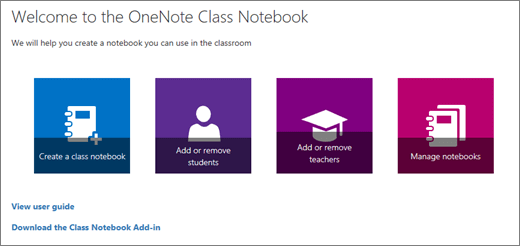
Each student in your Class Notebook shares access to the notebook’s Content Library and Collaboration Space. Their notebook also contains a private workspace only you share.
Students need an Office 365 account at your school before you can add them.
-
Sign in to Office.com with the log-in provided by your school.
-
Select Class Notebook, then Add or remove students in the Class Notebook Wizard.
-
Select the notebook you're adding students to.
-
Type in a student name, email address, or group name to add student(s) from your school.
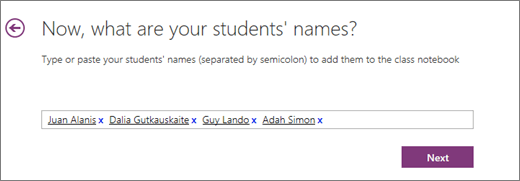
Tip: Separate a list of students with semi-colons.
-
Confirm the students with access to your Class Notebook.
-
Click Update.
The student(s) you added will receive an email with a link to their notebook.
Notes:
-
When using a OneNote Class/Staff Notebook created via Microsoft Teams, you cannot add/remove Students or members using the Class Notebook Wizard online.
-
Notebook members must be added/removed via Microsoft Teams.