Create sections in your Class Notebook Collaboration Space to facilitate student group work. Then, choose the students who can view and edit within that section. Grant read-only permissions to the whole class when you’d like everyone to see a section, but not be able to edit it.
-
Sign in to Office.com with the log-in provided by your school.
-
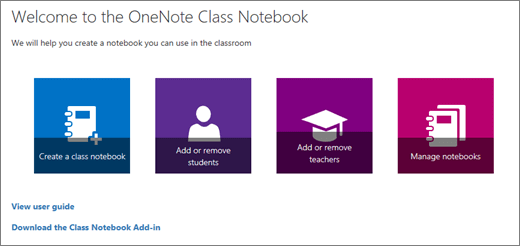
Select Class Notebook, then Manage notebooks in the Class Notebook Wizard.
-
Scroll to the notebook you’d like to modify and select Collaboration Space permissions.

-
Create a new section by selecting Add.
-
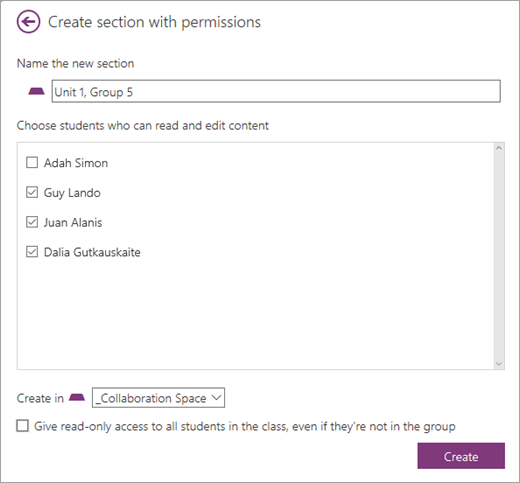
Type a name for your new section and use the checkboxes to choose its student members. Give read-only access to all students in the class by selecting the checkbox.
-
Select Create.
Return at any time to add more sections or edit the permissions on sections you’ve already created.
Source: Microsoft